System Requirements
| Item | Minimum | Recommended |
|---|---|---|
| OS | Windows 10 64-bit / macOS 12+ / Ubuntu 22.04+ | Windows 11 / macOS 14+ |
| Memory | 4 GB | 8 GB+ |
| Storage | 500 MB | 2 GB (without local models) |
| Network | Internet (for cloud AI) | Stable broadband |
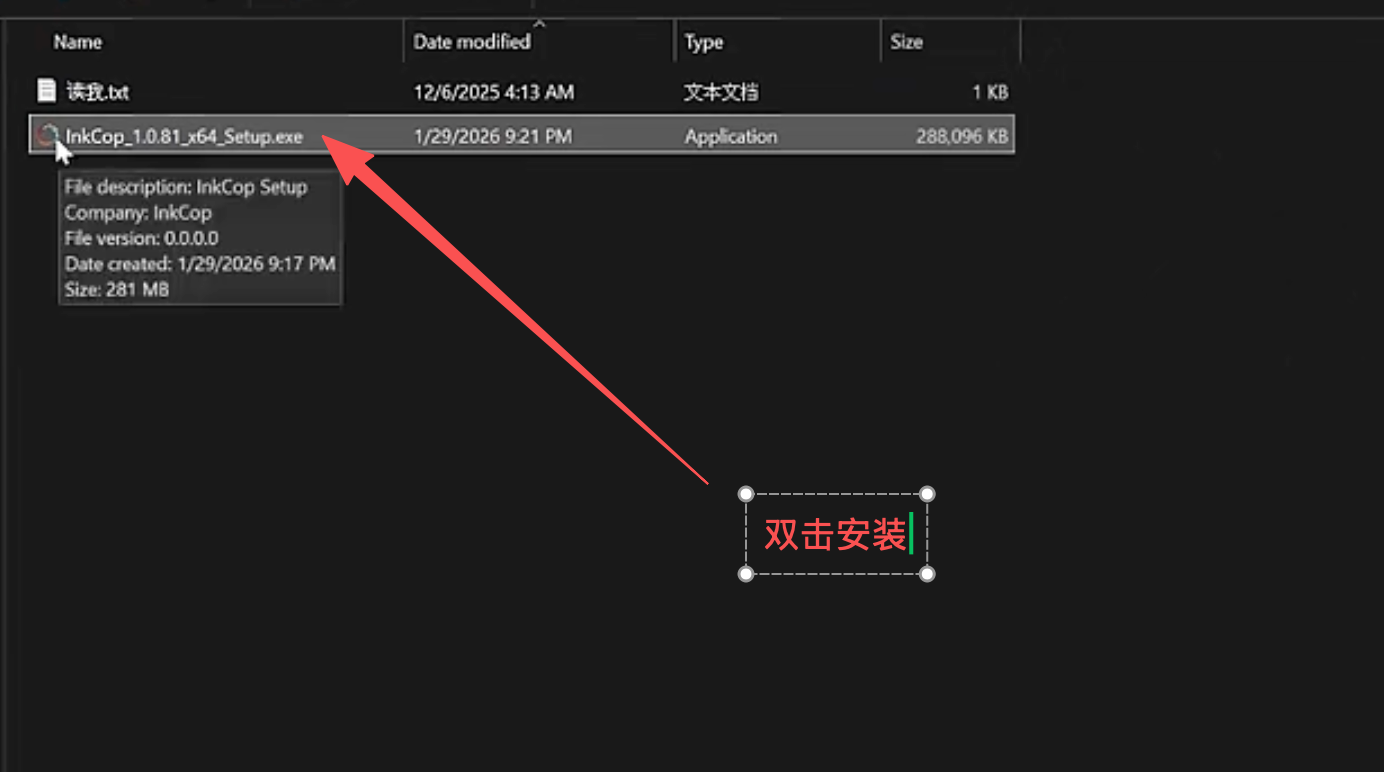
Windows
- Download the installer (
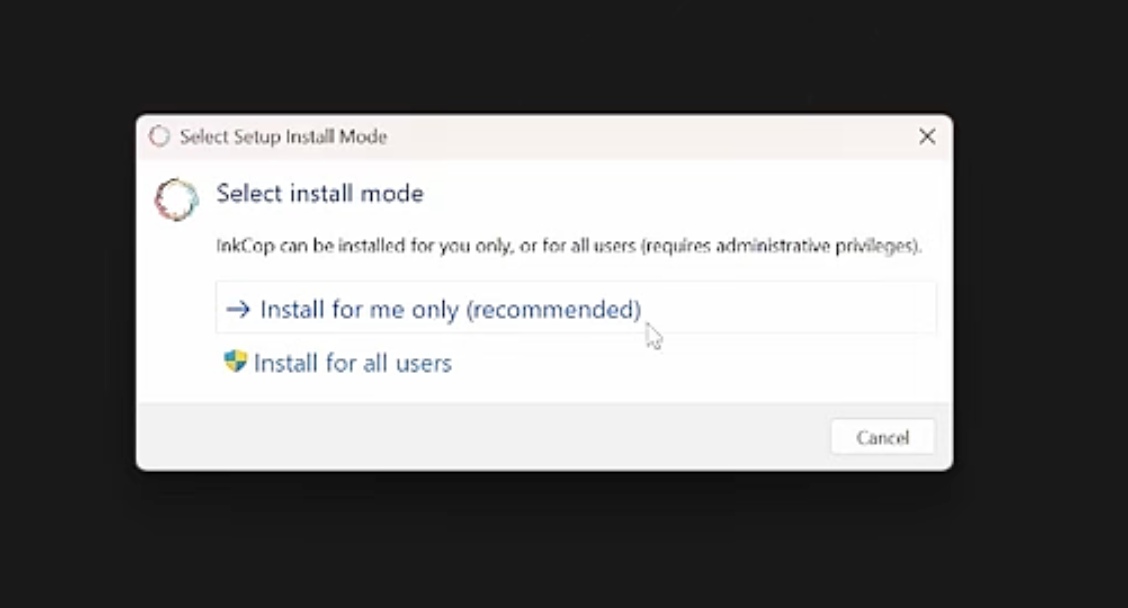
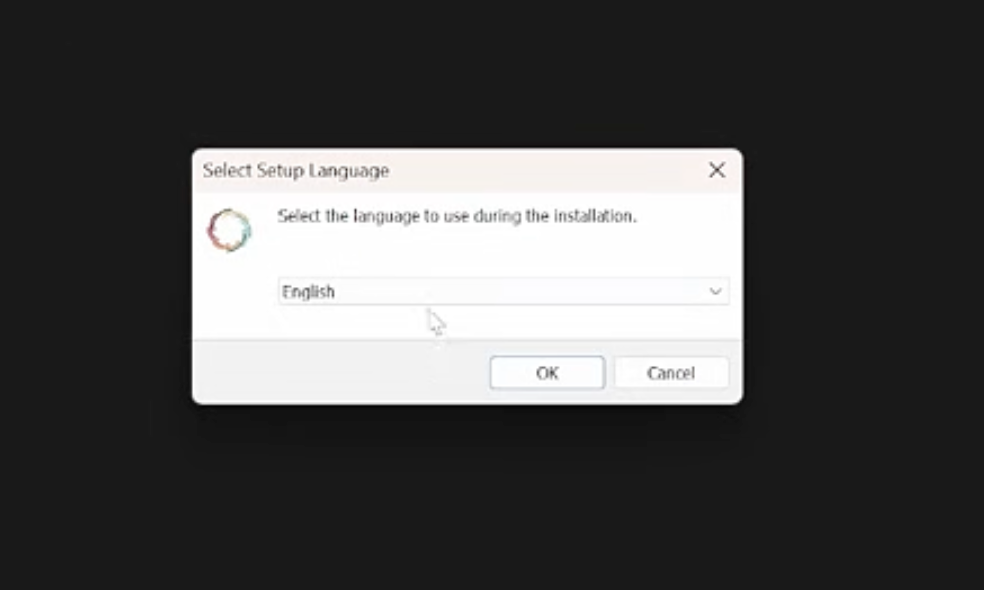
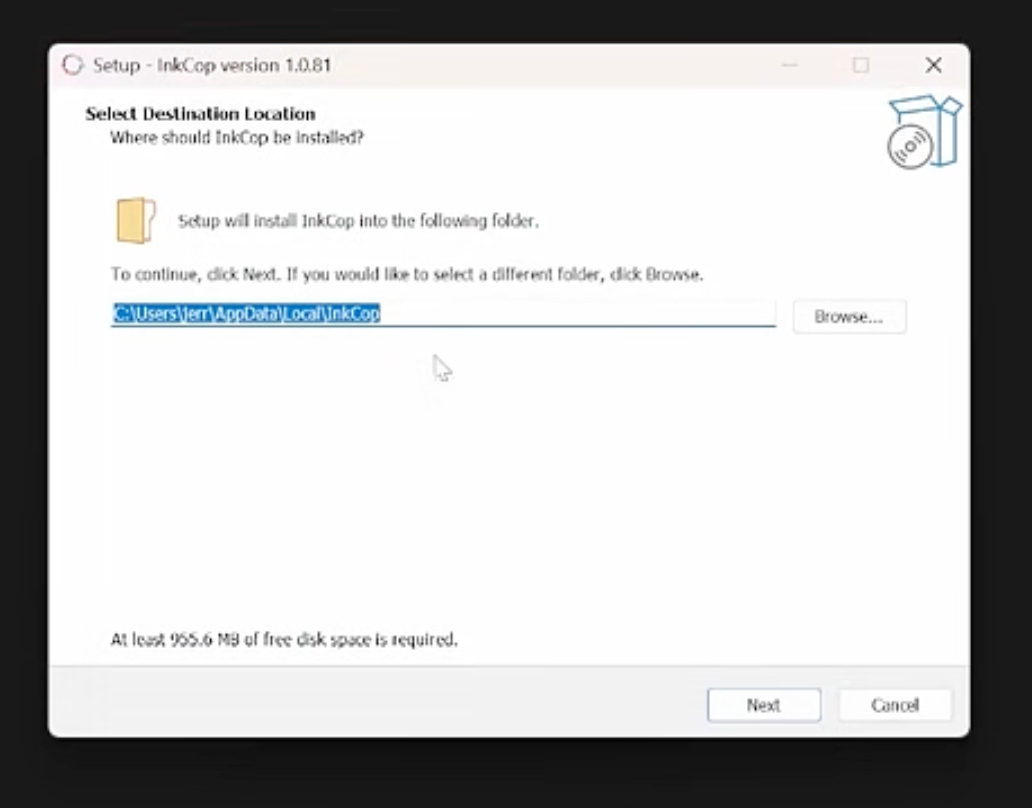
.exe) - Run the installer and follow the wizard

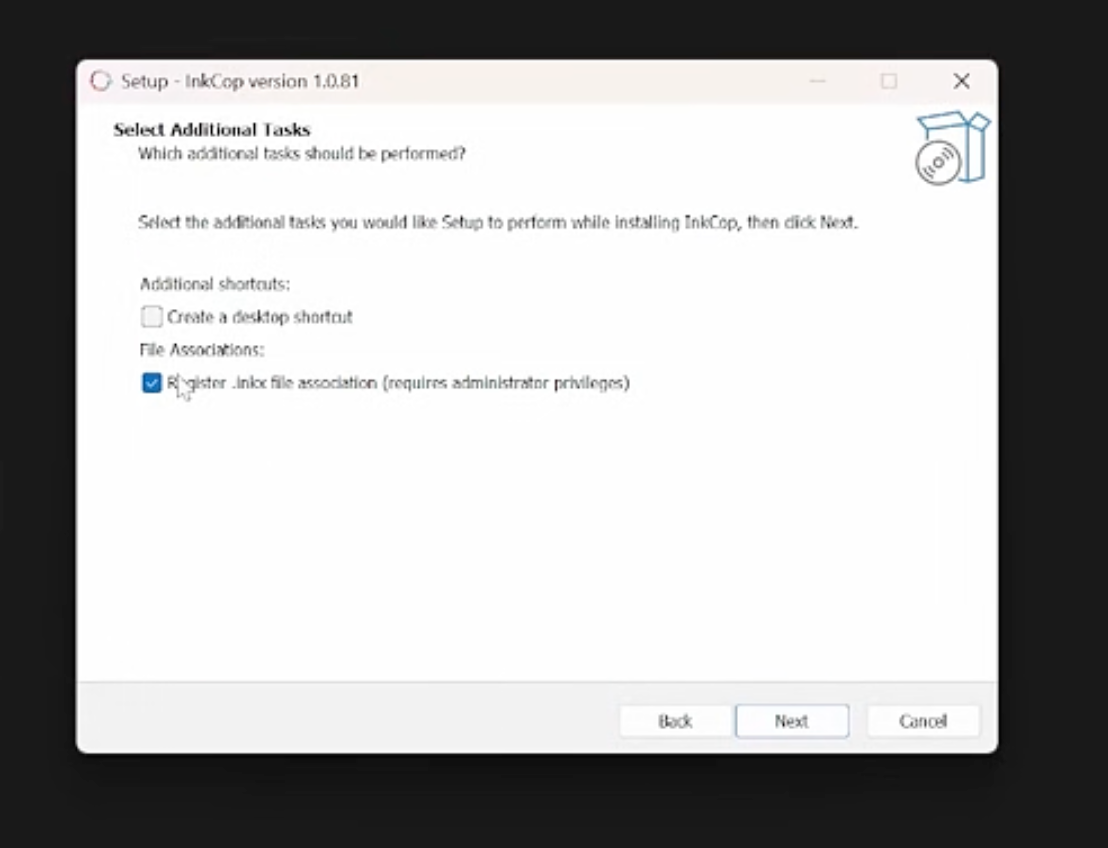
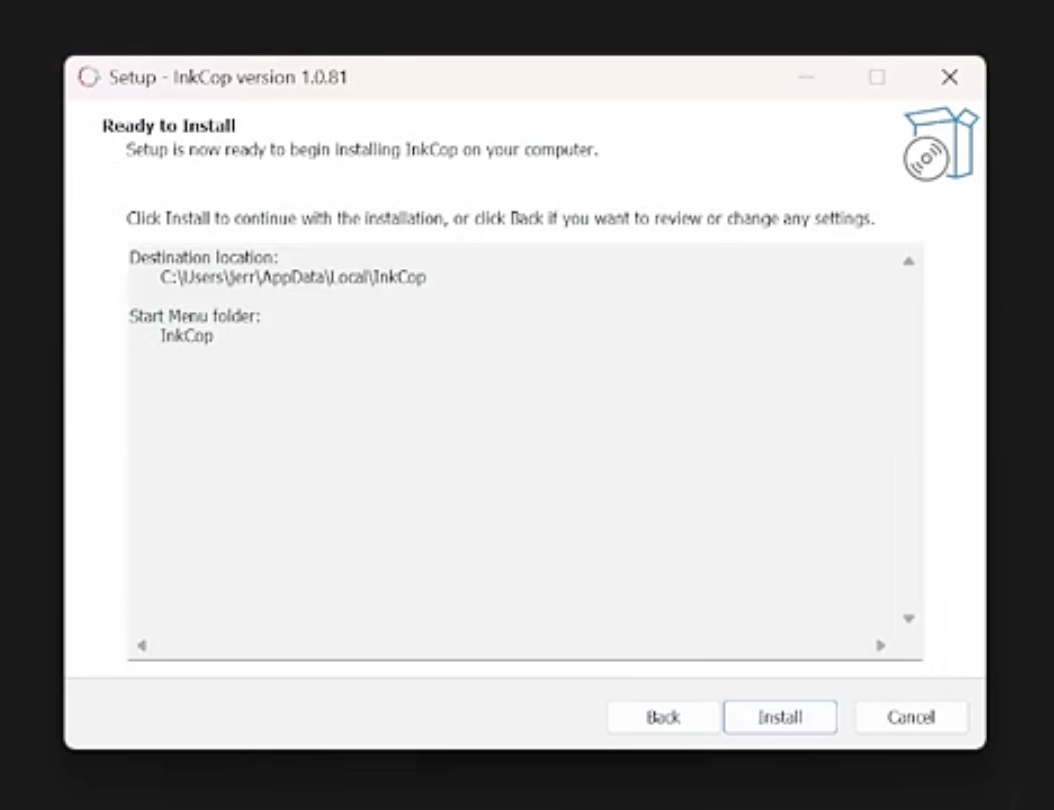
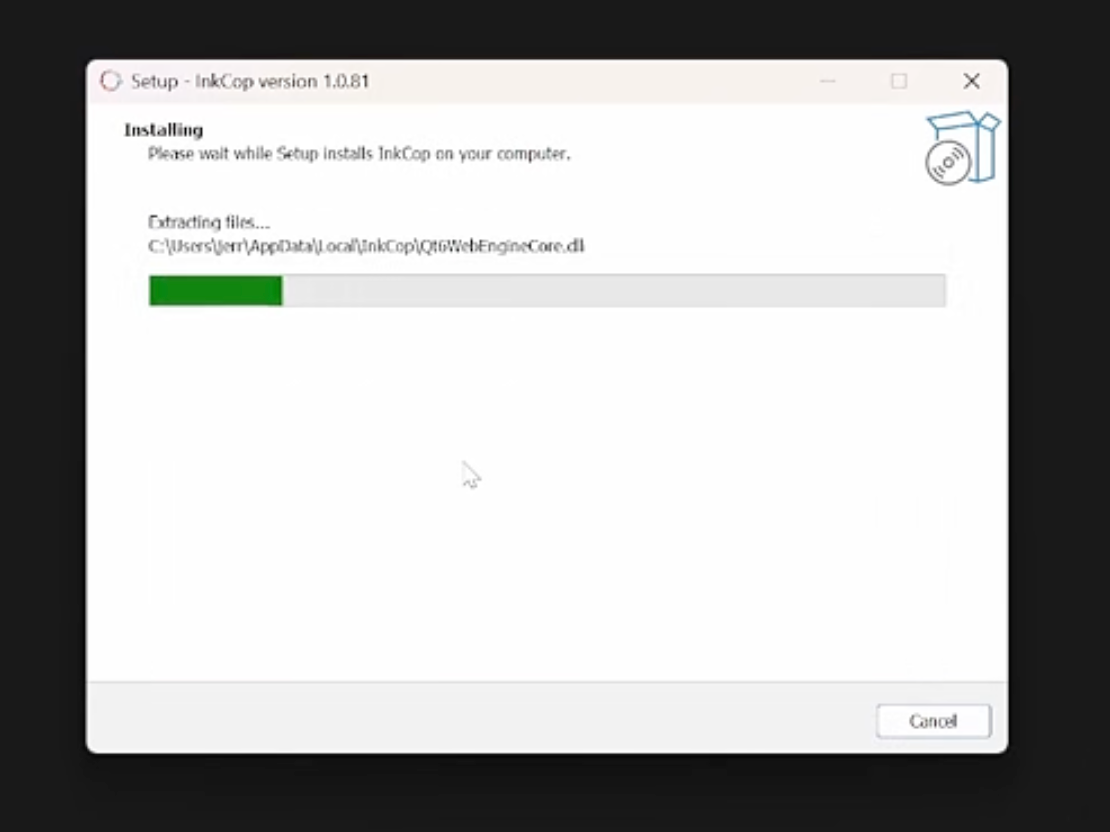
- Launch from Start Menu or desktop shortcut

macOS
- Download the
.dmgfile - Drag InkCop to Applications
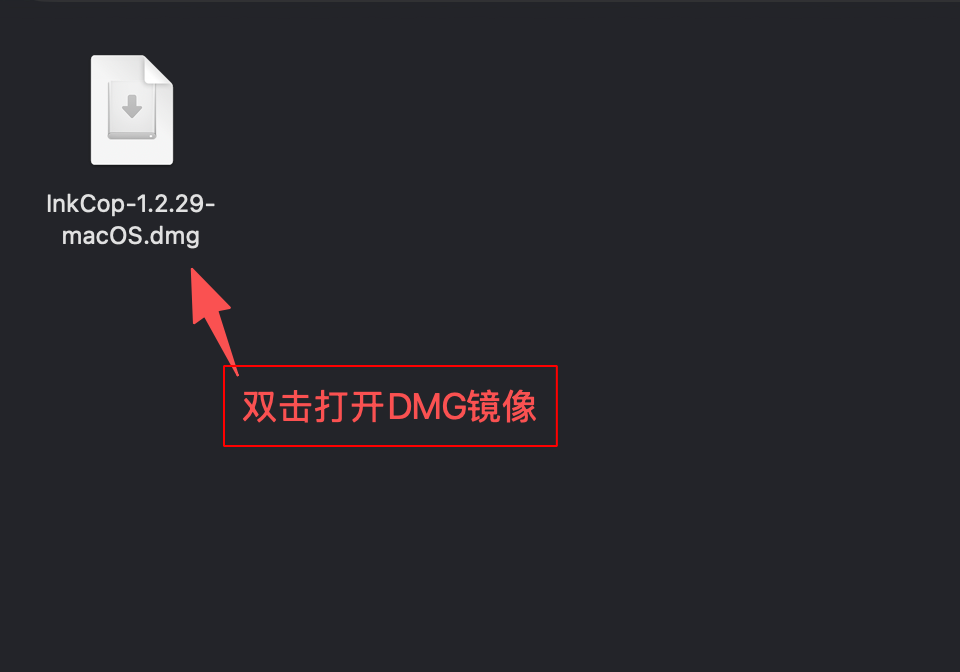
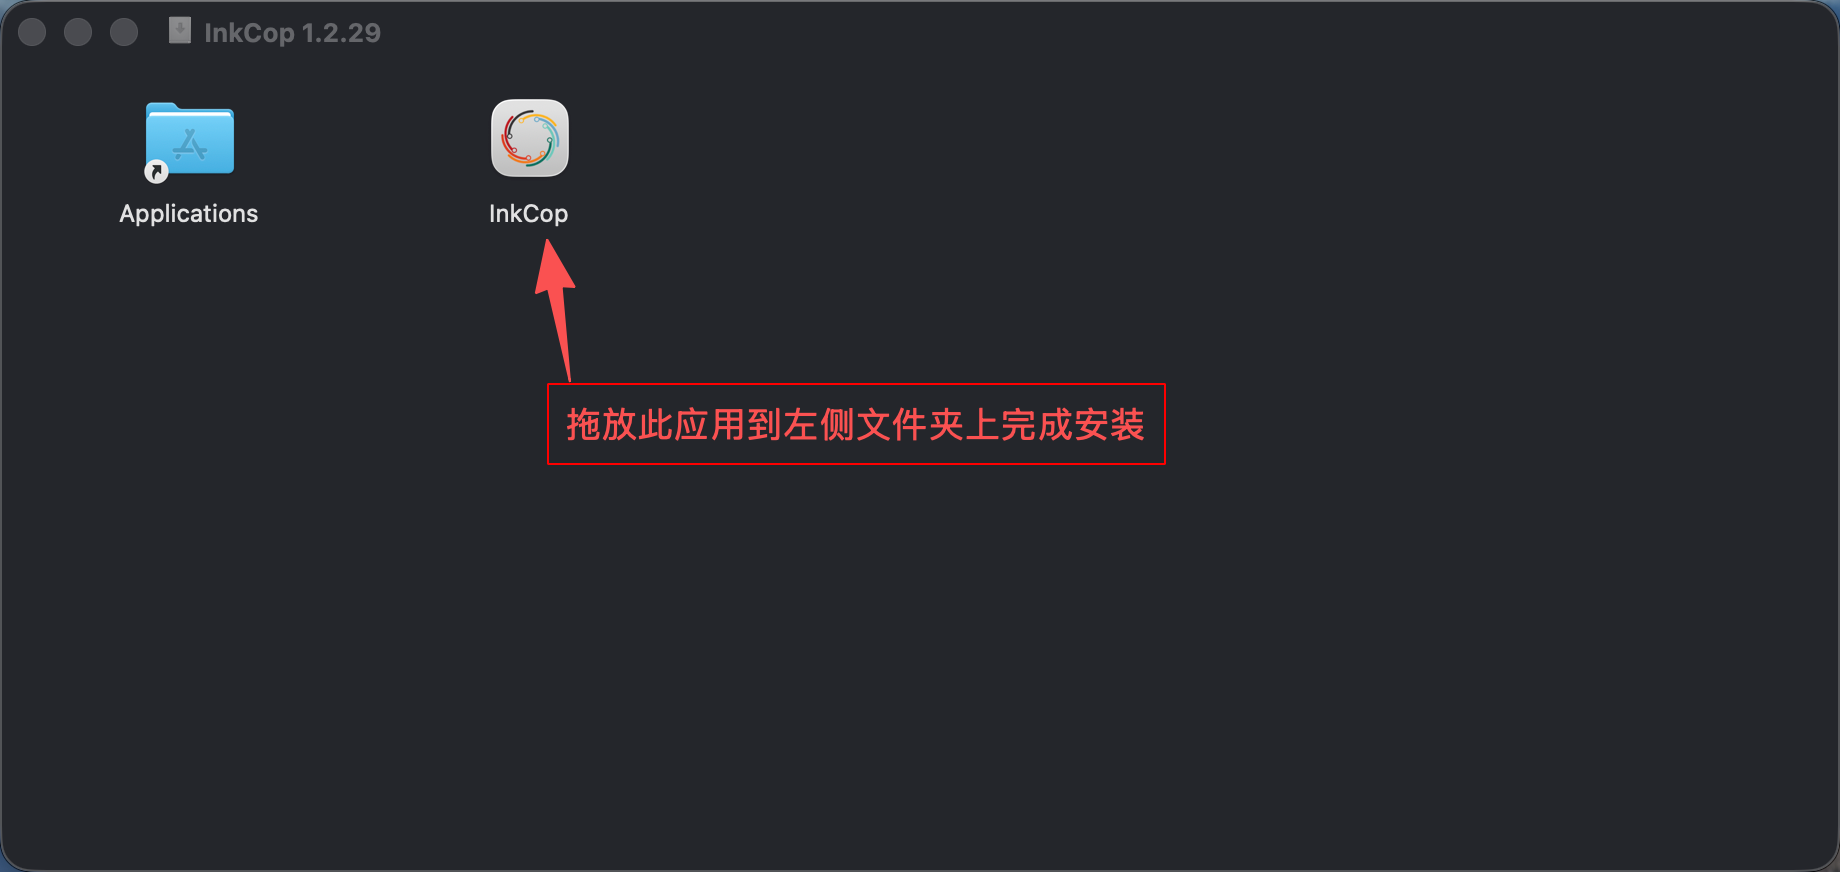
- First launch: go to System Settings > Privacy & Security and click “Open Anyway” if prompted
Linux
InkCop provides AppImage as the primary portable format — simply copy it anywhere and run. RPM, DEB, Flatpak, and Snap packages are also available; choose the one that fits your distribution.
# AppImage
./InkCop-*.AppImage

# RPM
sudo rpm -i InkCop-*.rpm

# DEB
sudo dpkg -i InkCop-*.deb

# Flatpak
flatpak install org.inkcop.InkCop

# Snap
snap install inkcop
First Launch
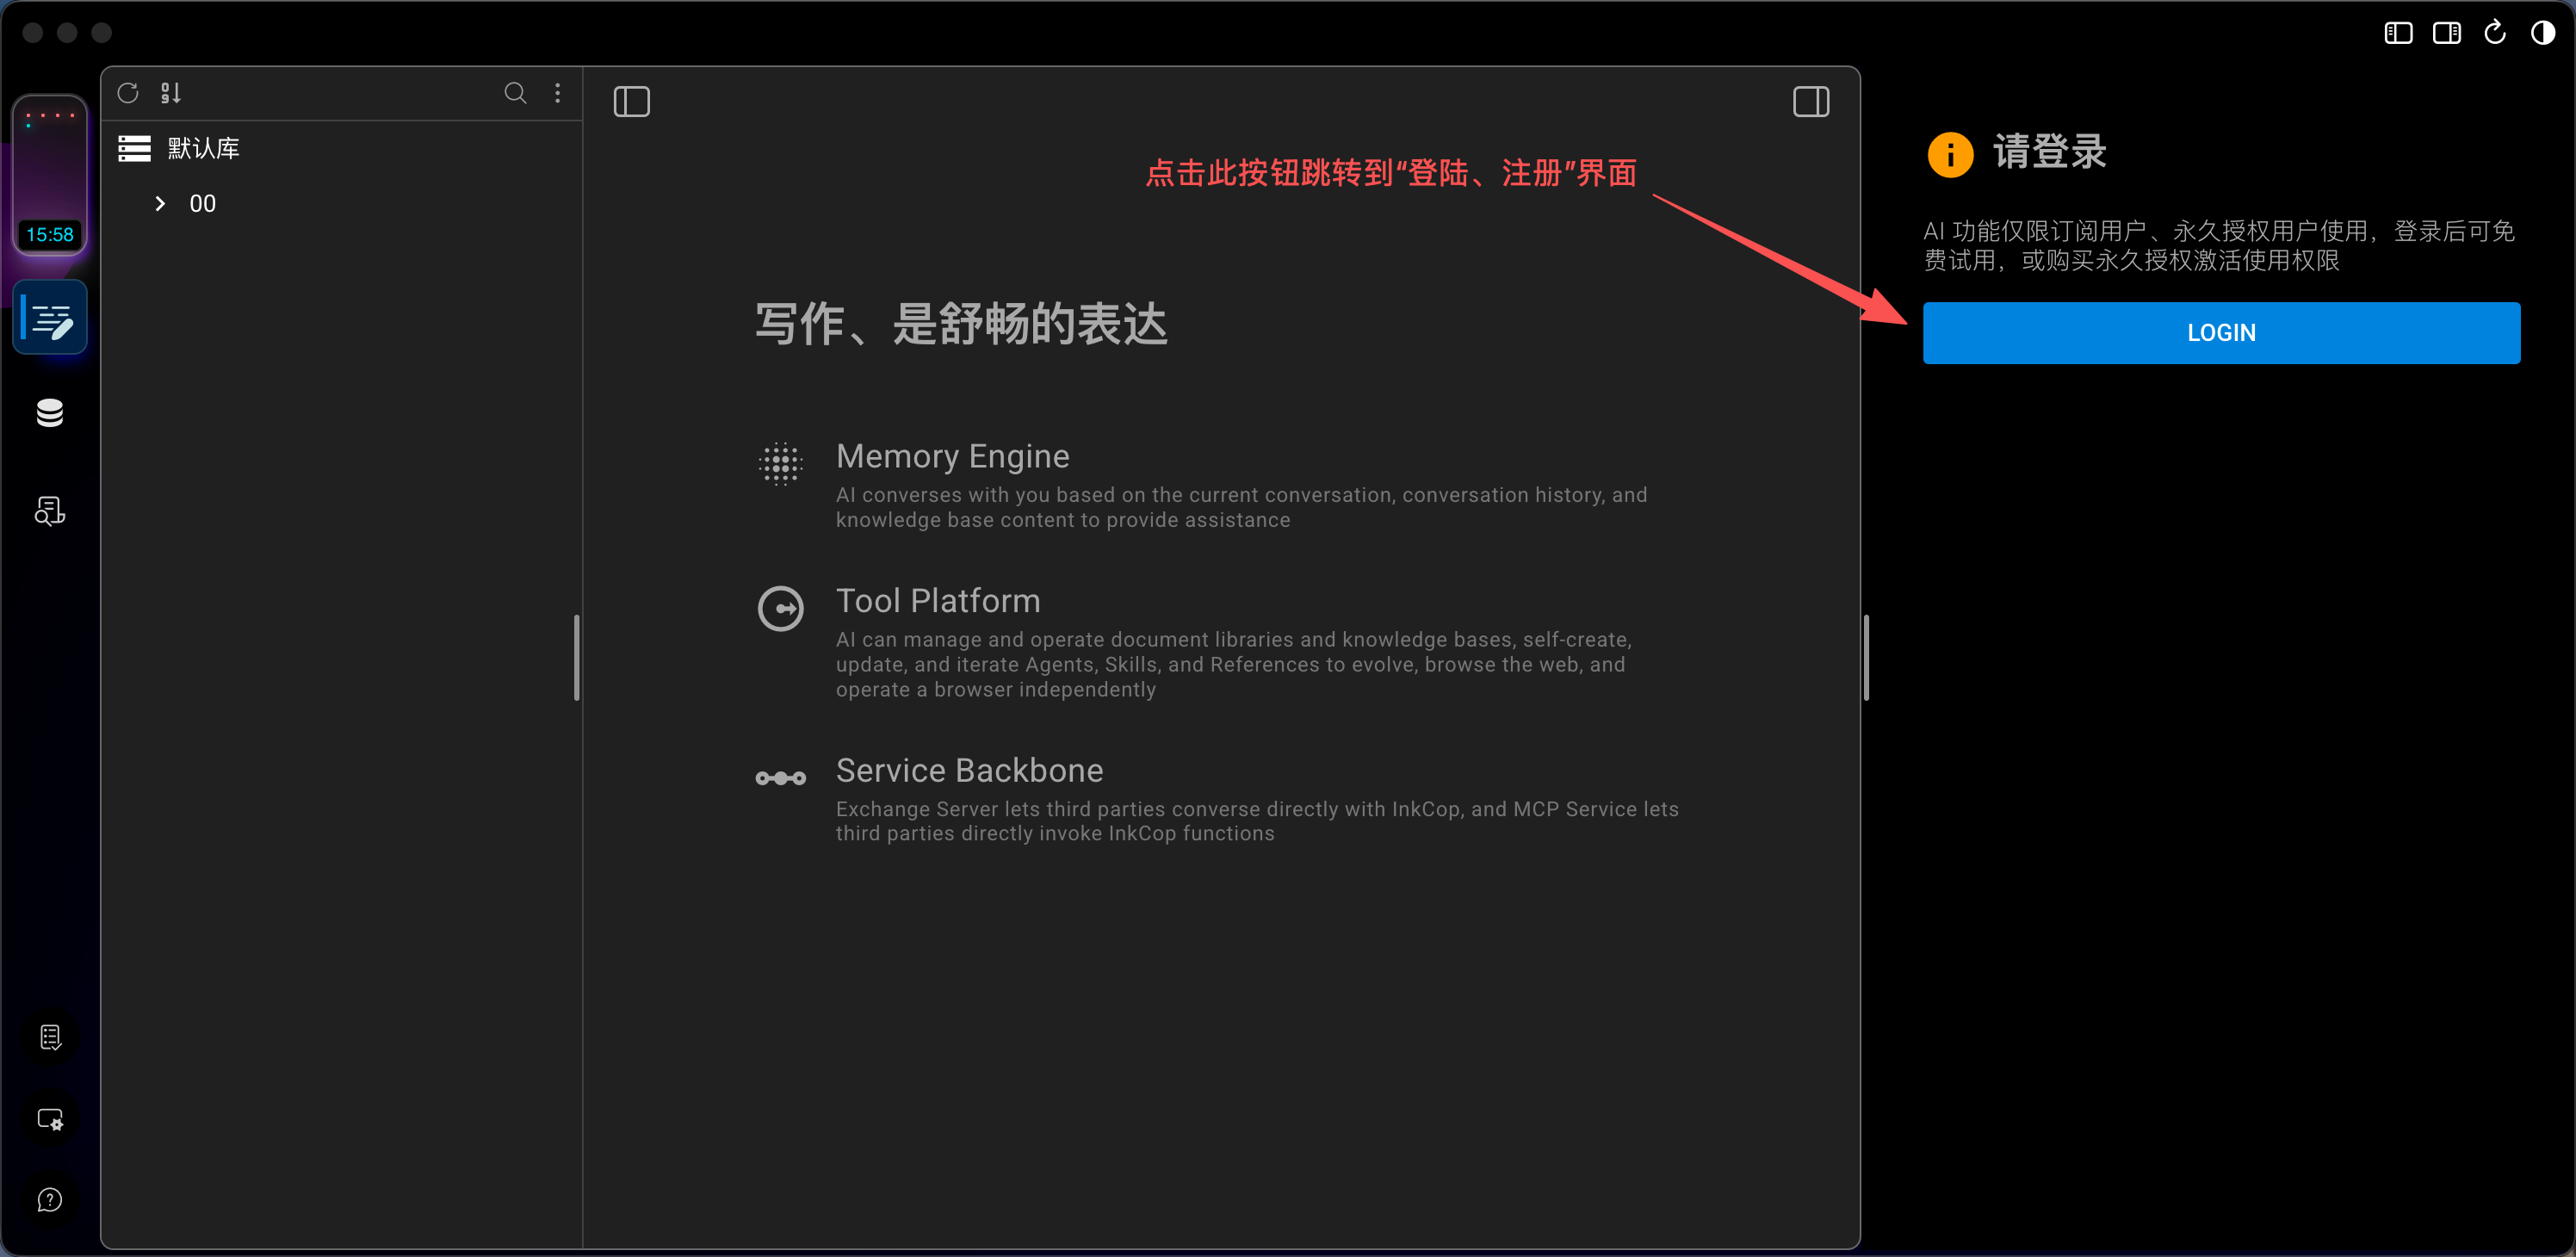
After launching InkCop for the first time, you will see:
- Welcome screen: Displayed in the center area
- Registration prompt: The right panel will prompt you to log in
Data Storage
All data (documents, knowledge bases, conversation history, etc.) is stored locally by default. You can change the storage location or add different workspaces in Settings:
- Windows:
%APPDATA%/InkCop/ - macOS:
~/Library/Application Support/InkCop/ - Linux:
~/.local/share/InkCop/
⚠️
Back up your workspace data regularly. Use the knowledge base export function for KB backups.